

Digital download
Marina Tote Bag PDF Sewing Pattern | Cut N Bind Appliqué Tote (Instant Download)
£13.99Tax included. Shipping calculated at checkout.
Instant digital download
No physical item is shipped. Your files are delivered straight after checkout, ready to cut at home.
- Secure checkout — card, Shop Pay & PayPal
- Small-maker commercial licence included
- Made by a small UK studio, with care
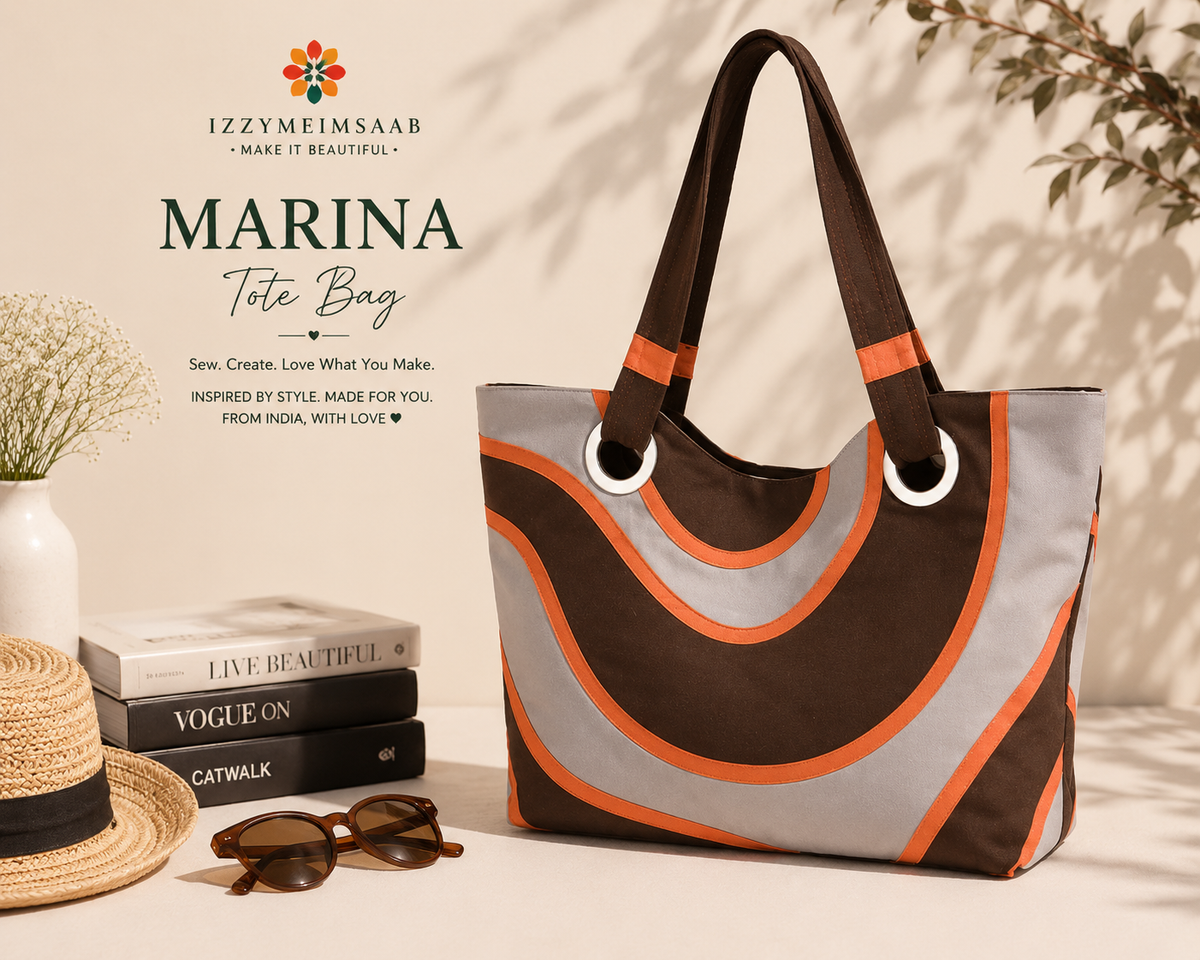
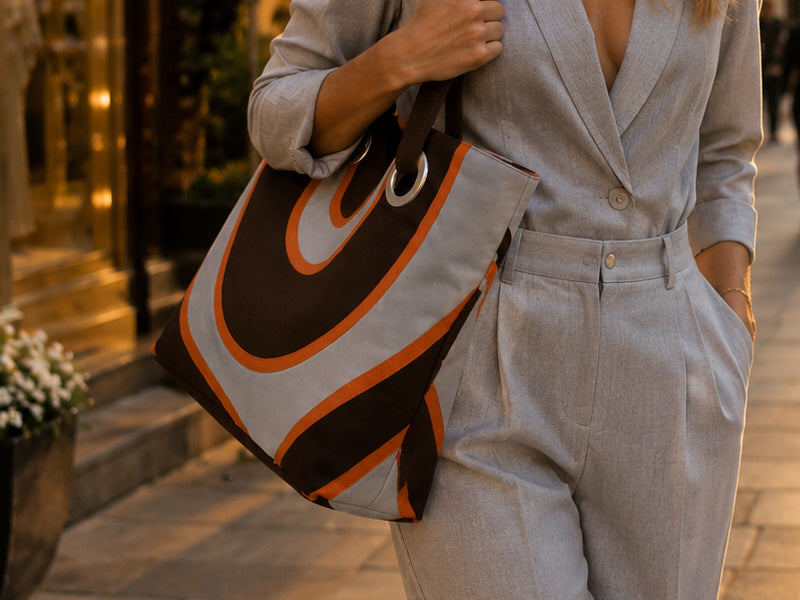
The Marina is the bag in your collection that makes people stop and ask ‘how did you do that?’ Those sweeping curved panels — layered in contrasting fabrics and bound together with bias binding — look like they belong on a designer bag. And the technique that creates them, the Cut N Bind method, is far more achievable than it looks.
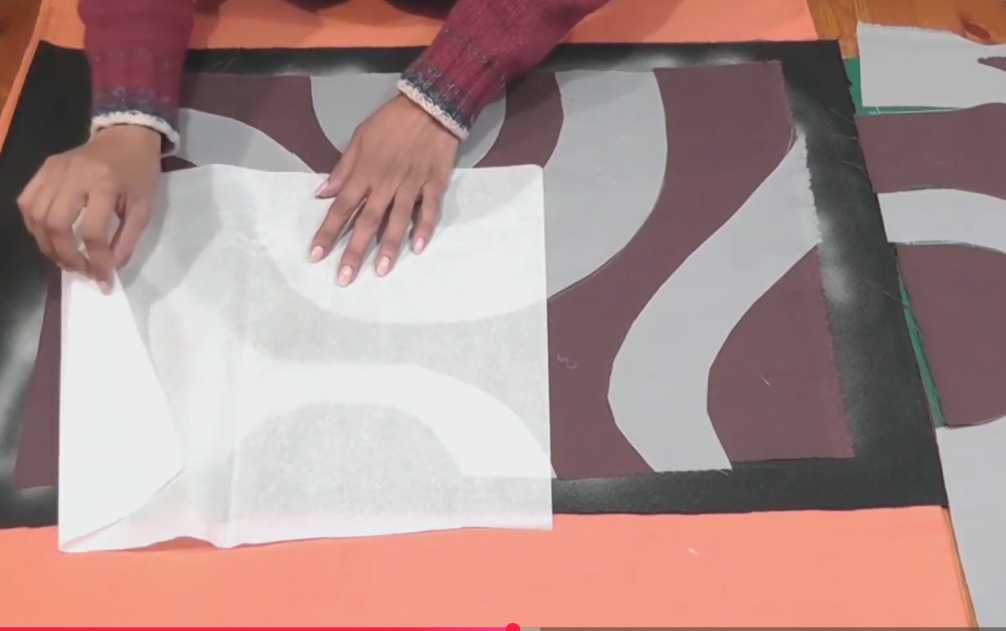
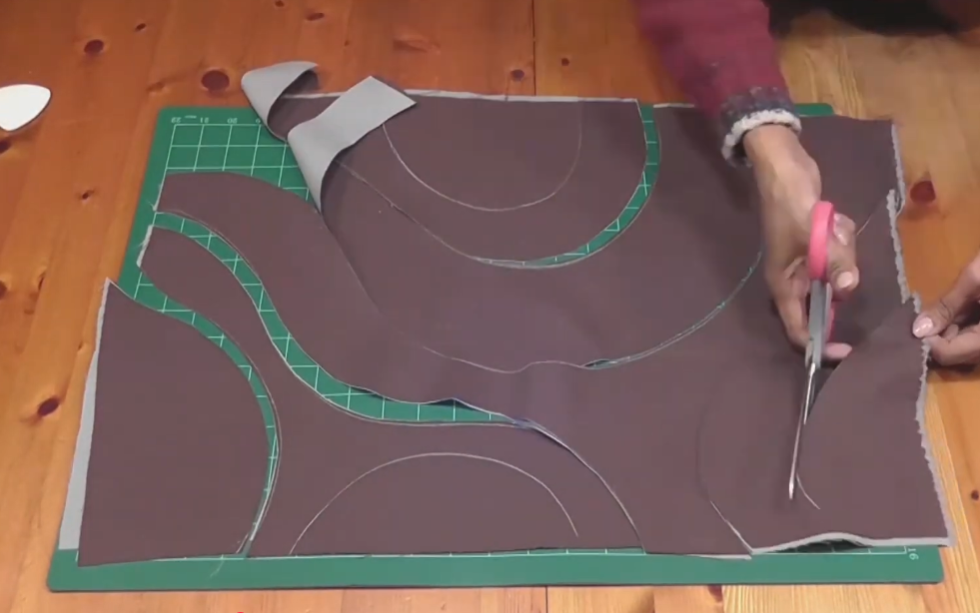
The Cut N Bind technique is Izzy’s own approach: you cut your main fabric panel oversized (24 x 18 inches), layer and stitch your contrast curved pieces on top, then bind all the raw edges with bias binding to create that clean, professional finish. No specialist equipment, no appliqué hoop — just fabric, bias binding, and a bit of patience. The video tutorial walks you through every step.
The large eyelet handles are another signature detail — webbing tape threads through metal eyelets on the main panel, creating a contemporary, architectural look that you genuinely cannot find on the high street.
What you’ll be making:
• A large structured tote with sweeping curved appliqué panels in contrast fabrics
• Bias-bound curved panel edges for a clean, professional finish
• Eyelet handle detail with webbing tape — the signature architectural touch
• A zipper panel construction for the top closure
• An interior zip pocket (top and bottom pieces)
• Full lining throughout
What’s included:
• 6-page tiled print-at-home pattern — print on A4 or US Letter, trim and assemble
• Mini assembly guide showing all 5 pattern pieces in position
• 5 clearly labelled pattern pieces: Main Panel, Handle Template, Zipper Panel, Zip Pocket Top, Zip Pocket Bottom
• Cut N Bind technique instructions on the main panel piece
• Video tutorial: Watch free on YouTube: IzzyMeimsaab
Fabric & materials:
• Main fabric — cut 24 x 18 inches for the Cut N Bind technique (slightly oversized to allow for appliqué work)
• Contrast fabrics — for the curved appliqué panels (the design shown uses 2-3 contrast colours)
• Lining fabric
• Bias binding — for binding the curved panel edges
• Webbing tape — 1.5 inch wide, for handles (pattern used for length only)
• Large metal eyelets x 4 (for handle attachment)
• Zip for interior pocket
Skill level:
Intermediate. The Cut N Bind technique is explained fully in the video tutorial and is easier than it looks — the key is working with your fabric oversized and taking your time with the bias binding on the curves. If you have made a lined bag before and are comfortable with bias binding, you will find this very achievable.
How delivery works:
This is an instant digital download. As soon as your payment is confirmed, no waiting, no shipping costs, delivered anywhere in the world.
A note from Izzy:
“The Marina came from wanting to make a bag where the fabric choice itself becomes the design. Those sweeping curved panels look complicated but the Cut N Bind technique makes them completely achievable — you’re just cutting shapes, layering them, and binding the edges. The eyelet handles were my favourite discovery: webbing tape threaded through metal rings gives it that contemporary look that makes people think you bought it somewhere expensive. You didn’t. You made it.” — Izzy
MATERIALS LIST (for listing)
• Main fabric (cut 24 x 18 inches for Cut N Bind)
• Contrast fabrics for curved appliqué panels
• Lining fabric
• Bias binding
• Webbing tape, 1.5 inch wide
• Large metal eyelets x 4
• Eyelet setter tool
• Interior zip
• Matching thread
• Printer (A4 or US Letter), scissors, tape for assembly
https://www.youtube.com/@IzzyMEIMsaab/videos
Delivered instantly after checkout — no waiting for the post. Files are standard PDF, tested and printable at home. Please select A4 or Letter size for output.
Every purchase includes a personal-use and small-commercial licence — you can sell handmade items made with the design at craft fairs, markets and online shops, up to 500 units per design per year. The licence doesn't allow re-selling or sharing the files themselves. Extended licences are available on request.

How to use
Beautiful results in three simple steps
No experience needed. If you can hold a paint pen, you can make something worth keeping.
-
1
Prep your surface
Choose a clean cushion cover, canvas or fabric panel and tape the stencil firmly in place.
-
2
Fill it in
Use a fabric paint pen or stencil brush in thin, even layers. Peel back slowly to reveal a crisp print.
-
3
Gift it or keep it
Heat-set if needed, then give it to someone who matters — or keep it for yourself.
Loved by makers
What our makers say
Rated 5 stars by early makers

The mylar is thick and beautifully cut — my first cushion came out crisp with no bleed. It feels like a proper craft kit, not a throwaway stencil.

I bought the SVG, cut it on my Cricut in ten minutes and made a blessing cushion for my mum's birthday. She actually cried. Worth every penny.

Six prints from one layered set is genuinely clever — I keep finding new combinations. The reference card made it completely foolproof.

Used it on a canvas for my sister going through a hard time. The lettering is gorgeous and so easy to paint — she's put it on her wall.

Dispatch was quick and the packaging lovely. The stencil washed clean and I've already reused it three times on different projects.

I run a small craft stall and the licence means I can sell what I make. Customers love the designs — already reordering more.